

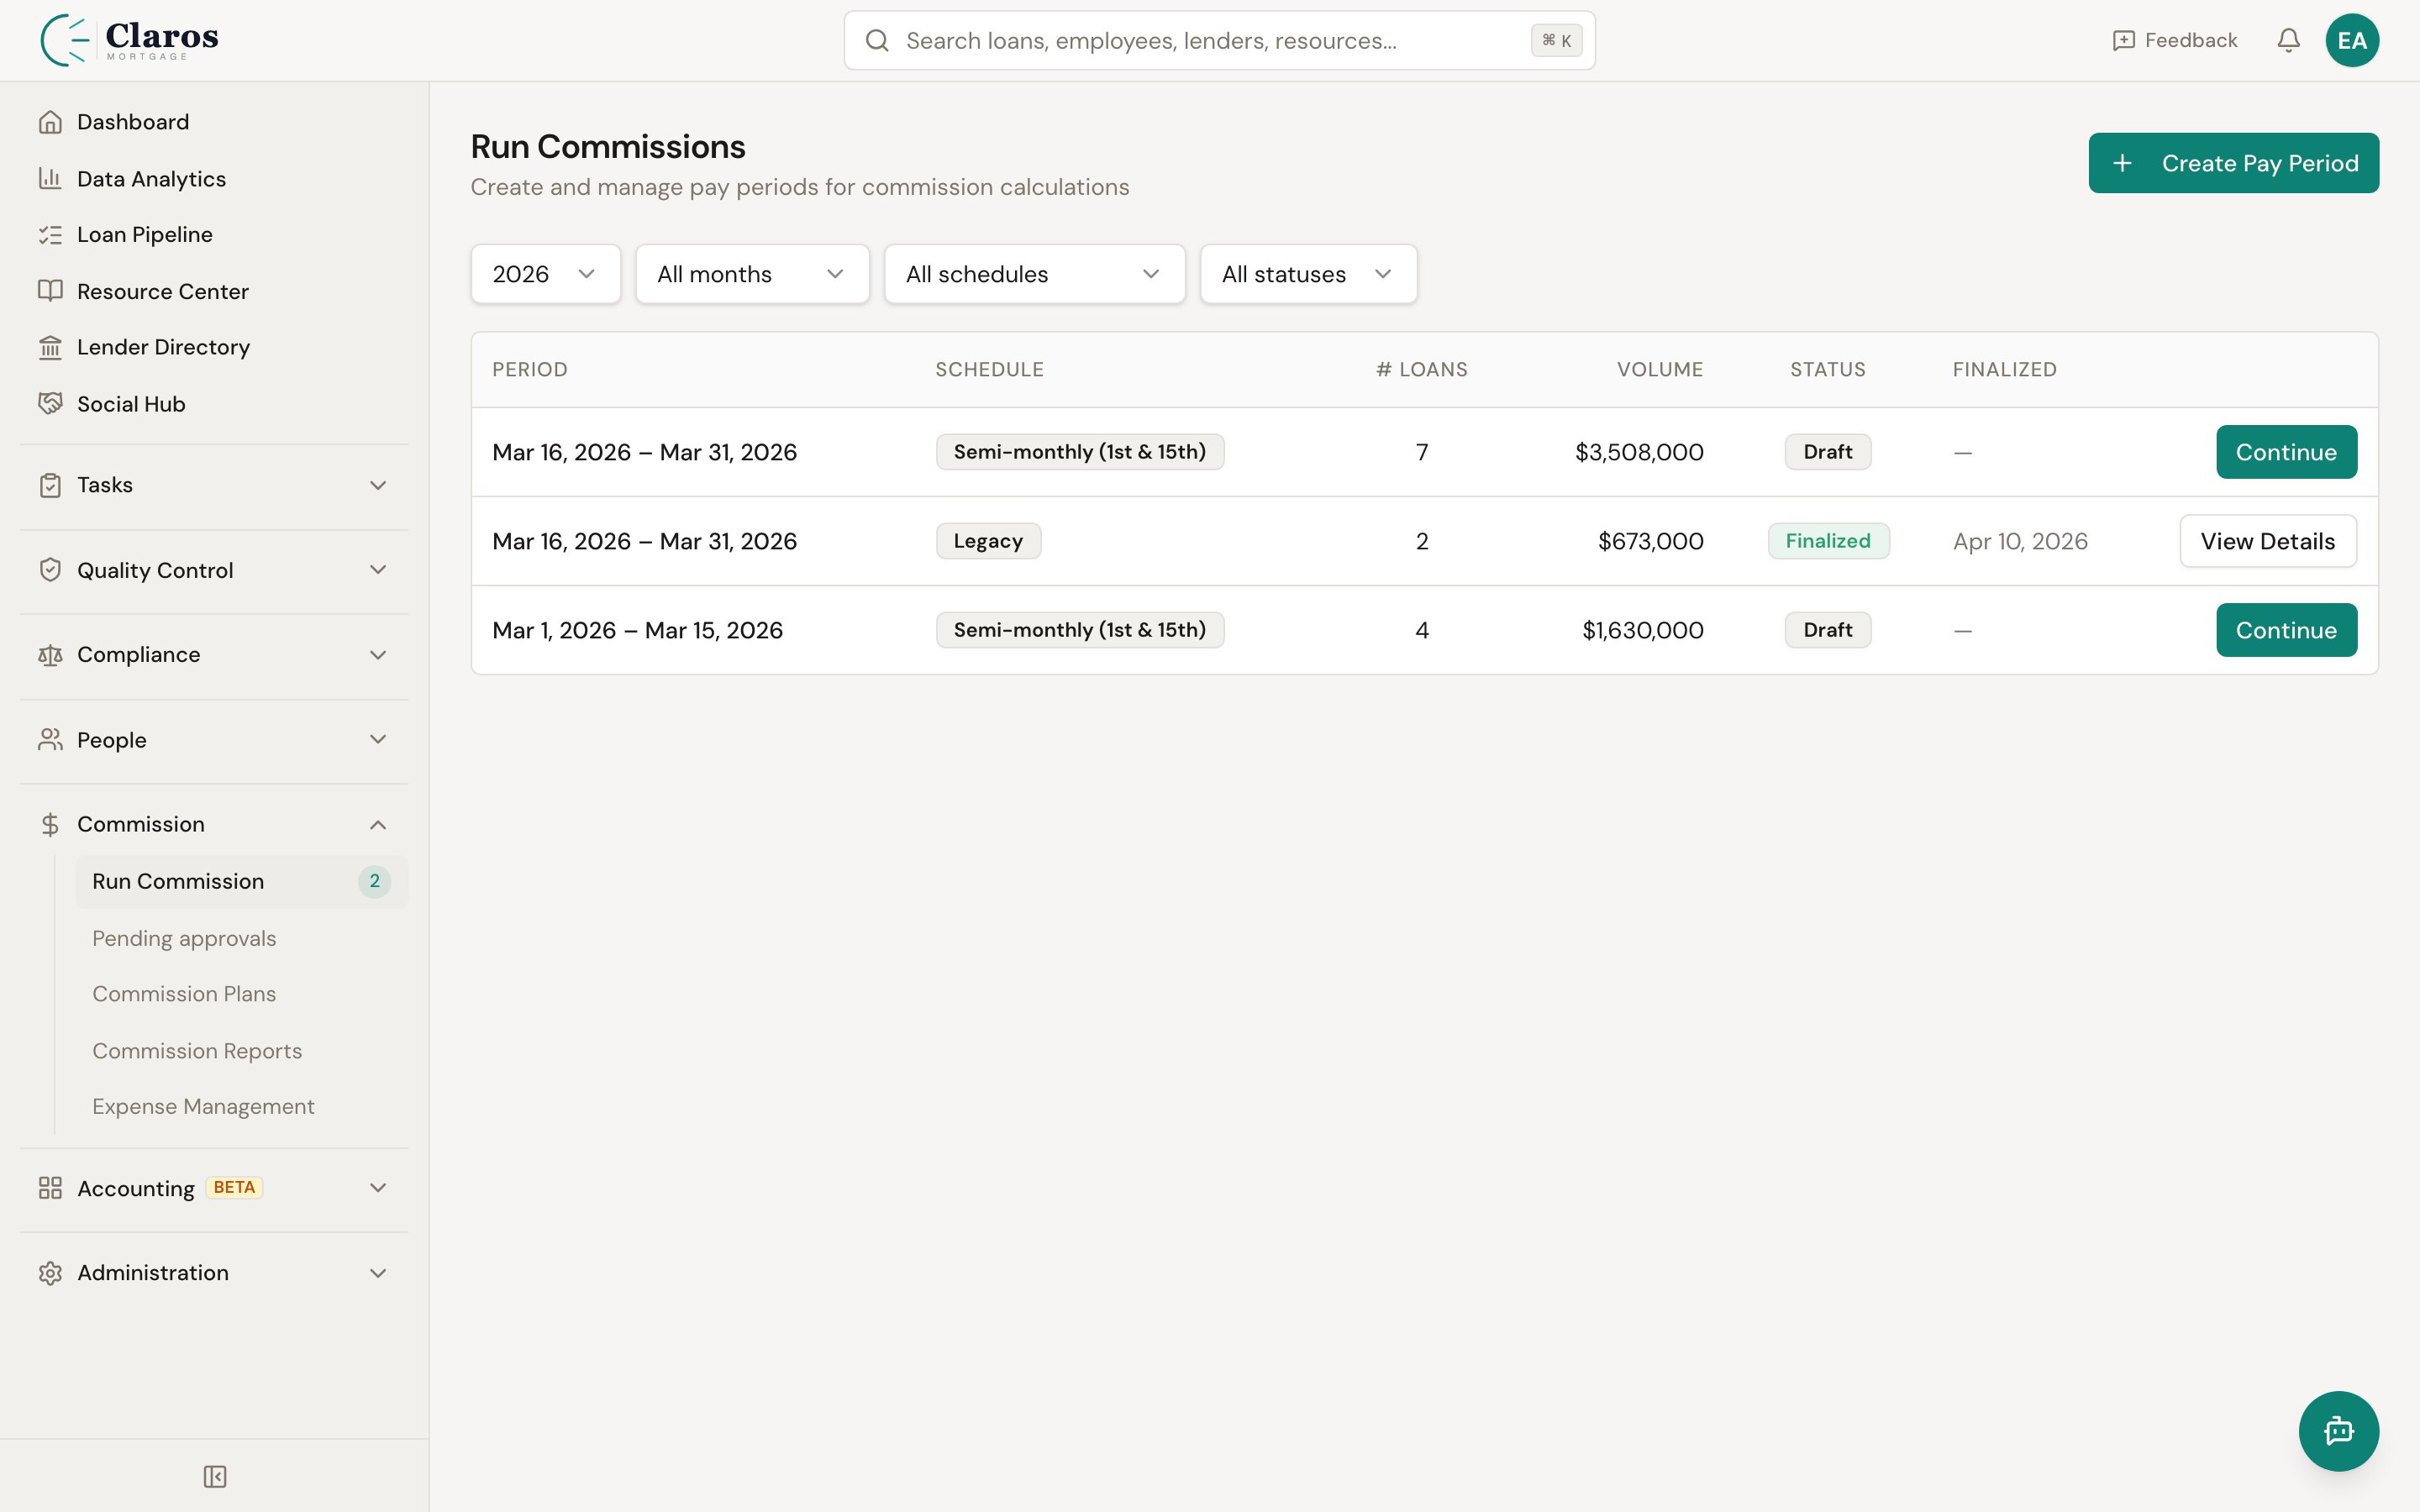
What Is a Pay Period?
A pay period is a date range that groups funded loans and expenses for commission calculation. Each pay period tracks:- Start date and end date — the date range
- Status — Draft or Finalized
- Loans — funded loans whose funded date falls within the period
- Expenses — employee expenses allocated to the period
- Employee records — per-employee draw balance and wage data
Pay Period Frequency
The frequency of pay periods is configured in the company’s payroll settings. Keystone supports four options:Semi-Monthly Options
Semi-monthly periods can be configured as:- First and Fifteenth: 1st-15th and 16th-end of month
- Fifteenth and Last: Same default split
- Custom: Specify custom start and end day-of-month boundaries
Monthly Options
Monthly periods can be configured as:- First: 1st through end of month
- Last: Same as above
- Custom: Specify a custom start day (e.g., start on the 16th of each month through the 15th of the next)
The Commission Run Workflow
Step 1: Navigate to Run Commissions
Go to Commission > Run Commissions in the sidebar. The page displays all pay periods ordered by date.Step 2: Auto-Assignment of Loans
When you visit the Run Commissions page, the system automatically checks for unassigned funded loans and expenses:- All funded loans without a pay period assignment are identified.
- For each loan, the system determines which pay period date range covers the loan’s funded date.
- If a matching draft pay period exists, the loan is assigned to it.
- If no matching period exists, a new draft pay period is created with the appropriate date range (based on the company’s payroll settings) and the loan is assigned.
- Expenses without a pay period assignment are similarly matched to draft periods by date.
Step 3: Open a Pay Period
Click on a pay period to view its details. The pay period detail view is organized as a three-step wizard:- Review — Examine the loans, expenses, and draw settings
- Preview — See calculated commissions before finalizing
- Finalize — Lock in the commissions and close the period
Step 4: Review (Step 1 of 3)
The Review step has multiple tabs:Earnings Tab
Displays all loans in the pay period with:- Loan number and borrower name
- Funded date
- Loan amount and broker compensation
- Loan officer name
- Calculated commission amounts (gross, file fee, net)
- Remove a loan from the pay period (it becomes unassigned and can be moved to a different period)
- Review commission calculations per loan
Unassigned Loans Tab
Shows funded loans that fall within this pay period’s date range but are not yet assigned. This can happen when loans are manually removed or when new loans are funded after the period was created.- Click Add to assign an unassigned loan to this pay period.
Expenses Tab
Displays expenses allocated to this pay period, showing:- Employee name
- Expense amount
- Date and notes
Draws Tab
Shows draw balance information for employees with commissions in this period:- Previous draw balance (carried over from prior periods)
- Draw balance payment (amount paid down from this period’s commissions)
- Draw balance carried over (remaining balance after this period)
- Wage paid (the guaranteed minimum payment)
Step 5: Preview (Step 2 of 3)
When you advance to the Preview step, the commission engine runs a full calculation. This shows:- Per-employee summary cards with:
- Employee name
- Number of loans
- Gross commission
- File fee deductions
- Expenses
- Previous draw balance
- Wage paid
- Draw balance changes
- Net pay
Step 6: Finalize (Step 3 of 3)
When everything looks correct, the Finalize step presents a confirmation screen:- Click Finalize Pay Period.
- The system runs the commission engine one final time, locks draw balances for each employee, records which rules were applied, marks the period as Finalized, and generates commission accrual journal entries.
- The pay period is now locked.
- Export Detail CSV — A line-by-line export of every commission result (loan, recipient, rule, amounts)
- Export Summary CSV — A per-employee summary export
The Commission Calculation Process
When the engine runs (either for preview or finalization), it performs these steps for every loan in the pay period:1. Load Data
The engine loads:- All loans in the pay period with their attributes (amount, type, lender, state, etc.)
- All associated employees (loan officers, assistants, processors, branch managers)
- All active commission rules
- Special case groups and performance boosters
- Expenses for the period
2. Process Each Loan
For each loan: a. Find the loan officer’s matching rule:- Filter rules to those for the LO role (not processor, not LOA, not BM)
- Sort by specificity (employee-specific rules first)
- Evaluate each rule’s filters and special cases against the loan
- Use the first matching rule
- Determine the basis (loan amount or broker compensation)
- Apply the commission rate (percentage, flat, or bps)
- Clamp to min/max if configured
- If the rule has a file fee, calculate it based on the fee type
- If “apply file fee first” is set, the fee adjusts the basis before commission calculation
- If the matched rule is linked to a performance condition, query the LO’s production stats
- If the threshold is met, calculate the bonus and add it
- For each assistant on the loan, find a matching LOA rule and calculate their commission
- For each processor, find a matching processor rule and calculate
- If the loan’s LO is in a branch, check for a branch manager override rule
- Any of these that are marked “deducts from loan officer” reduce the LO’s net
- Loan-level adjustments that apply to commissions are added to the LO’s net
3. Build Employee Summaries
After all loans are processed:- Commission results are aggregated by employee
- Expenses are added per employee
- Draw balances are calculated:
- If net earnings exceed the draw wage, excess pays down prior draw balance
- If net earnings are below the draw wage, the deficit increases the draw balance
- Net pay is determined
Draw Balance Handling
The draw system ensures employees receive a minimum payment each period.Draw Calculation Types
Each employee has a draw calculation type:Draw Balance Flow
- The employee is paid their full commission earnings
- Any excess above the draw amount can pay off prior draw balance
- Net pay = net commission earnings - draw balance payment
- The employee receives the draw amount (guaranteed minimum)
- The shortfall (draw - commissions) is added to their draw balance
- Net pay = draw amount - expenses
Draw Carry-Over
By default, draw balances carry over between periods. Per-employee, carry-over can be disabled so the draw balance resets to zero at the end of each period.Example
An employee has:- Draw type: Flat Amount, $3,000
- Previous draw balance: $1,500
- This period’s gross commissions: $5,000
- File fees: $300
- Expenses: $200
- Net earned = $5,000 - $300 - $200 = $4,500
- $4,500 > $3,000 draw, so excess = $1,500
- Draw balance payment = min($1,500 excess, $1,500 prior balance) = $1,500
- Draw balance carried over = $1,500 - $1,500 = $0
- Net pay = $4,500 - $1,500 = $3,000
Pay Period Statuses
Unfinalizing a Pay Period
If corrections are needed after finalization, an administrator can unfinalize a pay period. Click Unfinalize on the pay period detail page. This reverses draw balance changes and returns the period to Draft status so it can be edited and re-finalized.Caution: Unfinalizing a pay period reverses draw balance changes. If subsequent pay periods have already been finalized, their draw calculations may become inconsistent. Unfinalize only when necessary and consider the downstream impact.
Managing Pay Periods
Creating a Pay Period Manually
While pay periods are typically auto-created when funded loans are detected, you can create one manually:- On the Run Commissions page, click Create Pay Period.
- Enter the Start Date and End Date.
- Click Create.
Removing a Loan from a Pay Period
On the Earnings tab of a pay period:- Click the Remove action on a loan row.
- The loan is unassigned from the pay period and marked as manually unassigned (it will not be auto-assigned back).
Adding a Loan to a Pay Period
On the Unassigned Loans tab:- Find the loan you want to add.
- Click Add.
- The loan is assigned to this pay period and the manual unassignment flag is cleared.