

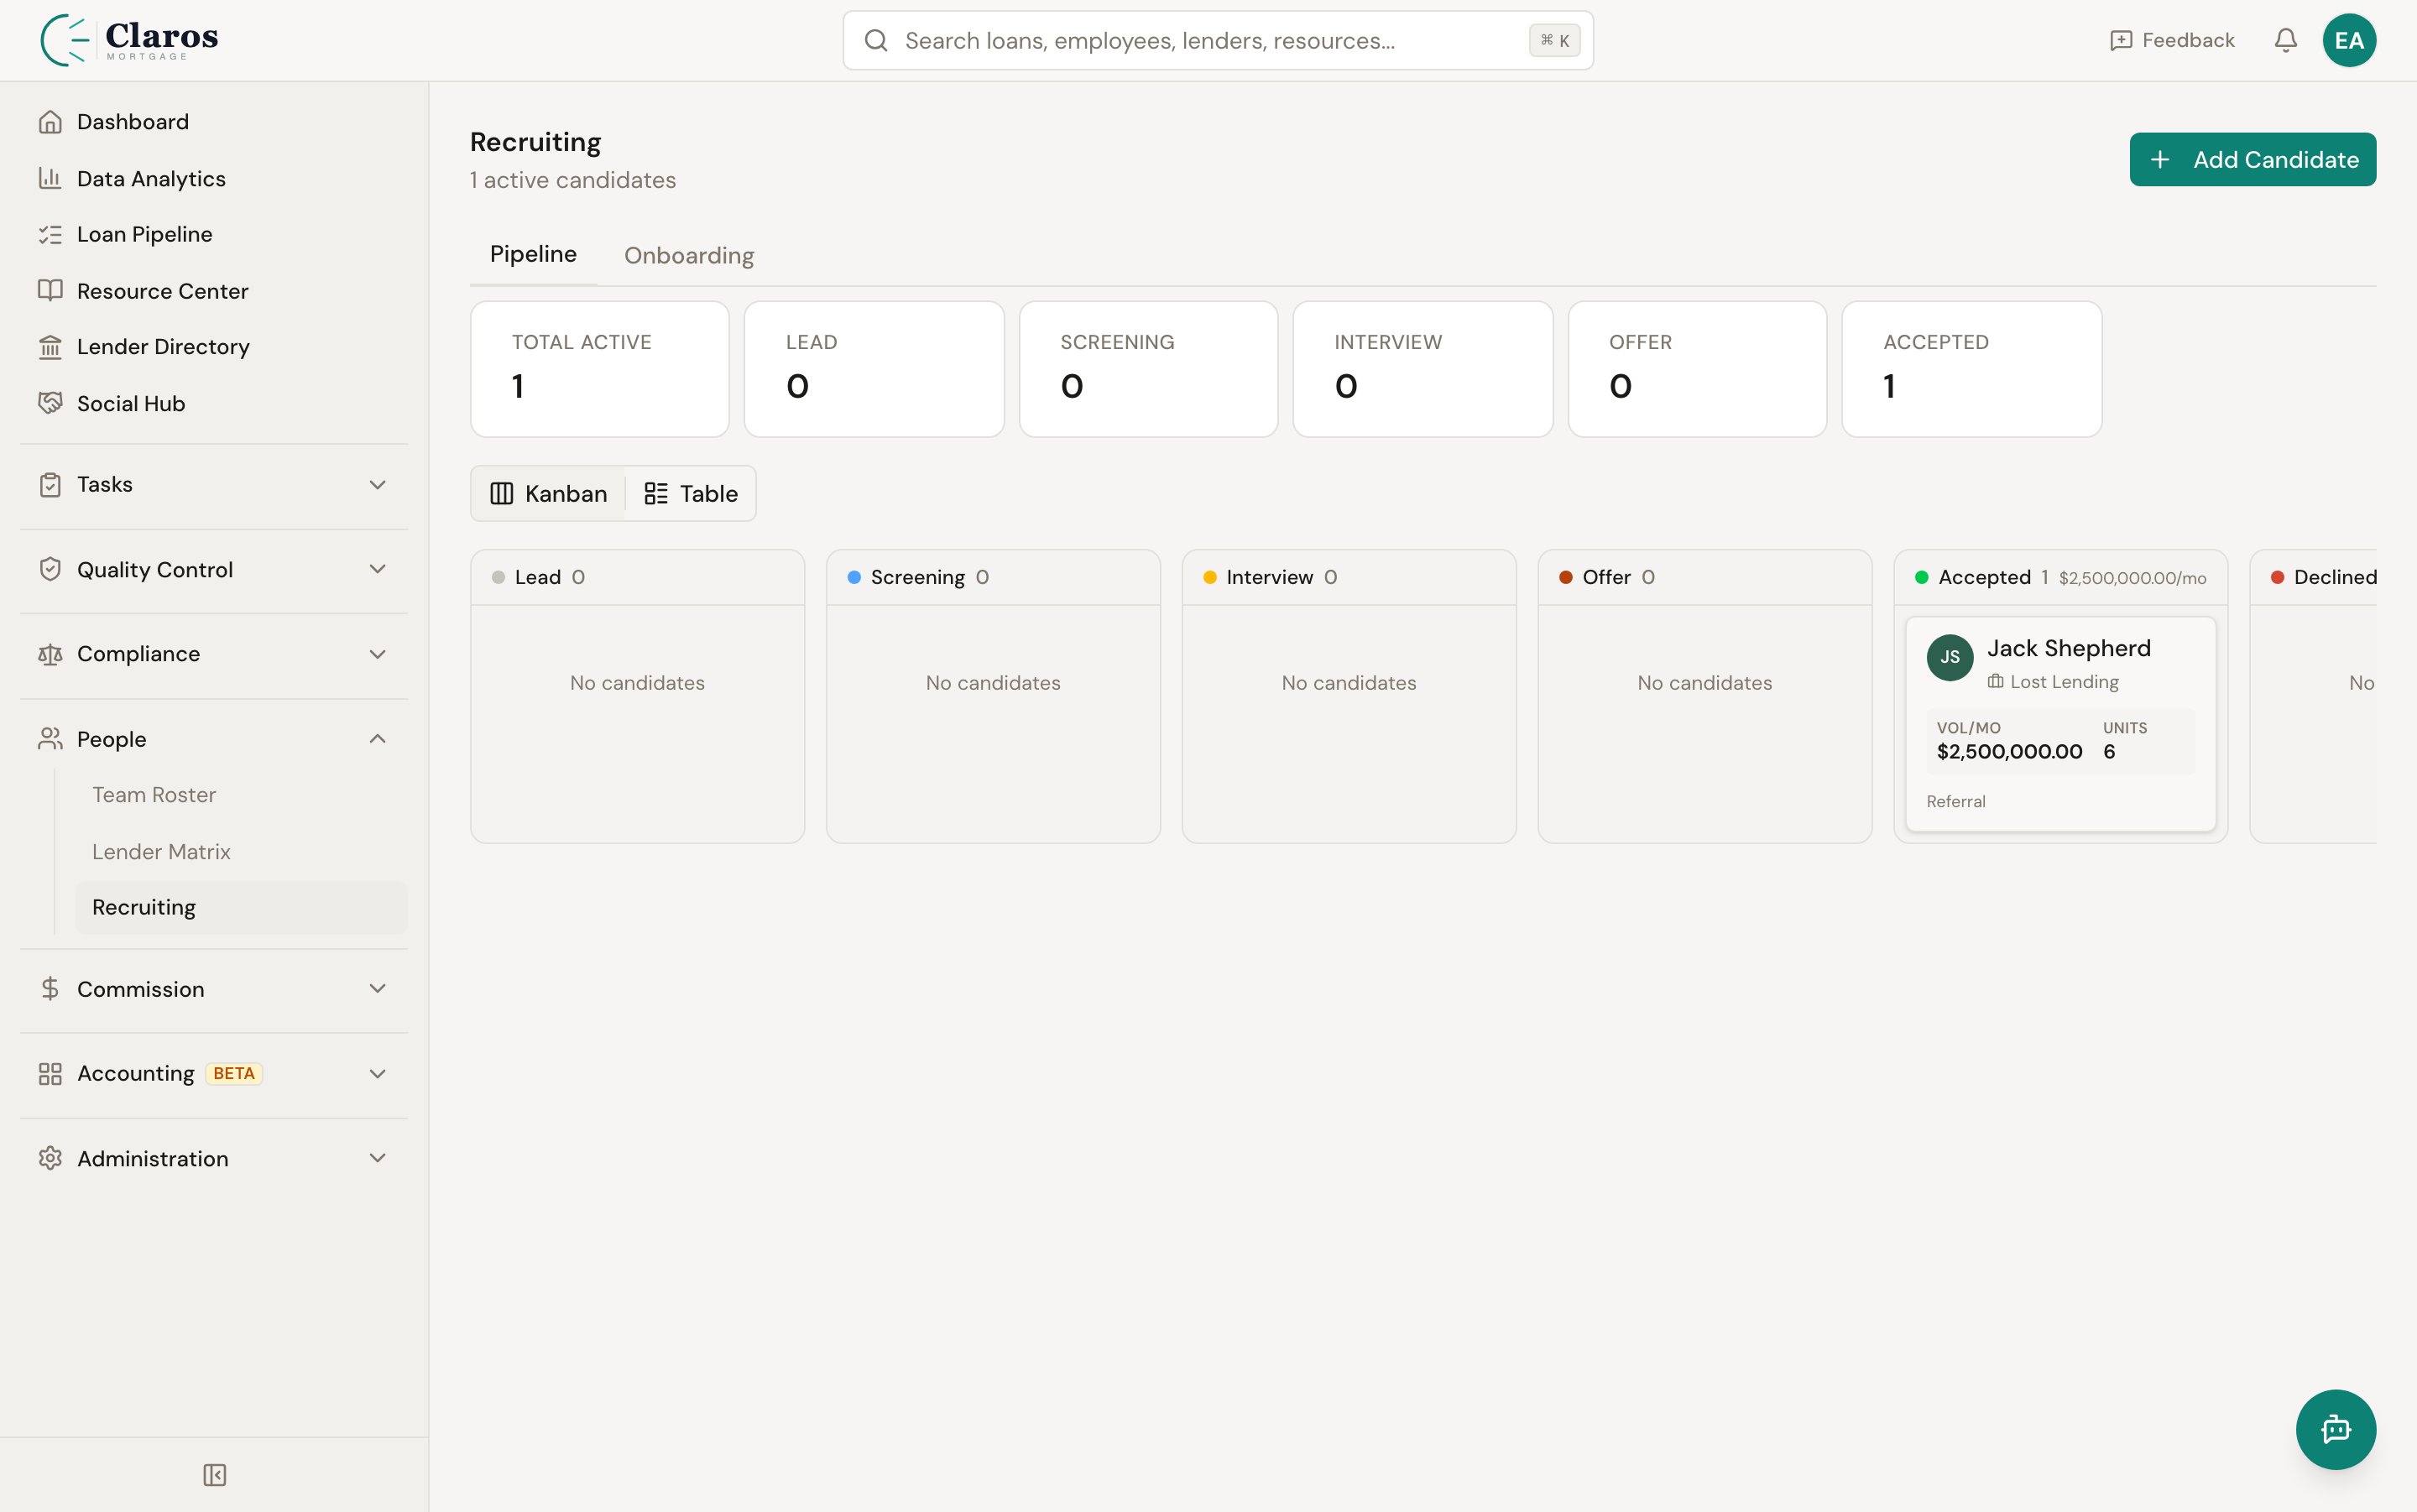
Adding a candidate
To add a new candidate to the pipeline:- Go to Recruiting in the sidebar.
- Click Add Candidate.
- Fill in the candidate form (described below).
- Click Save.
Candidate fields
Basic information
Recruiting information
Available roles
The following roles can be assigned as a candidate’s desired role:Production history
Production history is particularly important for Loan Officer candidates. This data helps you assess the candidate’s potential contribution and is used as input for the compensation estimator.
Pipeline stages
Every candidate moves through a series of stages that represent their position in the hiring process.Stage definitions
Moving candidates through stages
To change a candidate’s stage:- Open the candidate’s detail page.
- Use the Stage dropdown to select the new stage.
- The stage change is saved immediately.
Terminal stages
Hired, Declined, and Withdrawn are terminal stages. While the system does not strictly prevent moving a candidate out of a terminal stage, these stages represent the end of the pipeline under normal circumstances:- Hired is set automatically when you convert a candidate to an employee.
- Declined should be used when either party decides not to move forward.
- Withdrawn should be used when the candidate removes themselves from consideration.
State licenses
For roles that require state licensing (particularly Loan Officers), you can track the candidate’s state-by-state licenses.Adding licenses
Licenses are managed in the candidate form:- Open the candidate form (either when creating a new candidate or editing an existing one).
- In the State Licenses section, add entries for each state.
- For each license, provide:
Licenses are important for two reasons:
- They help you verify the candidate’s qualifications during screening.
- When the candidate is converted to an employee, their state licenses are automatically copied to the employee record.
Adding notes
Notes provide a running record of interactions, observations, and decisions about a candidate.Creating a note
- Navigate to the candidate’s detail page.
- Scroll to the Notes section.
- Enter your note text.
- Click Add Note.
What to record in notes
Common uses for candidate notes include:- Phone screen summaries and impressions
- Interview feedback from different team members
- Reference check results
- Compensation discussion details
- Reasons for stage changes (especially for Declined or Withdrawn)
- Follow-up reminders and next steps